Find the crosshair controls
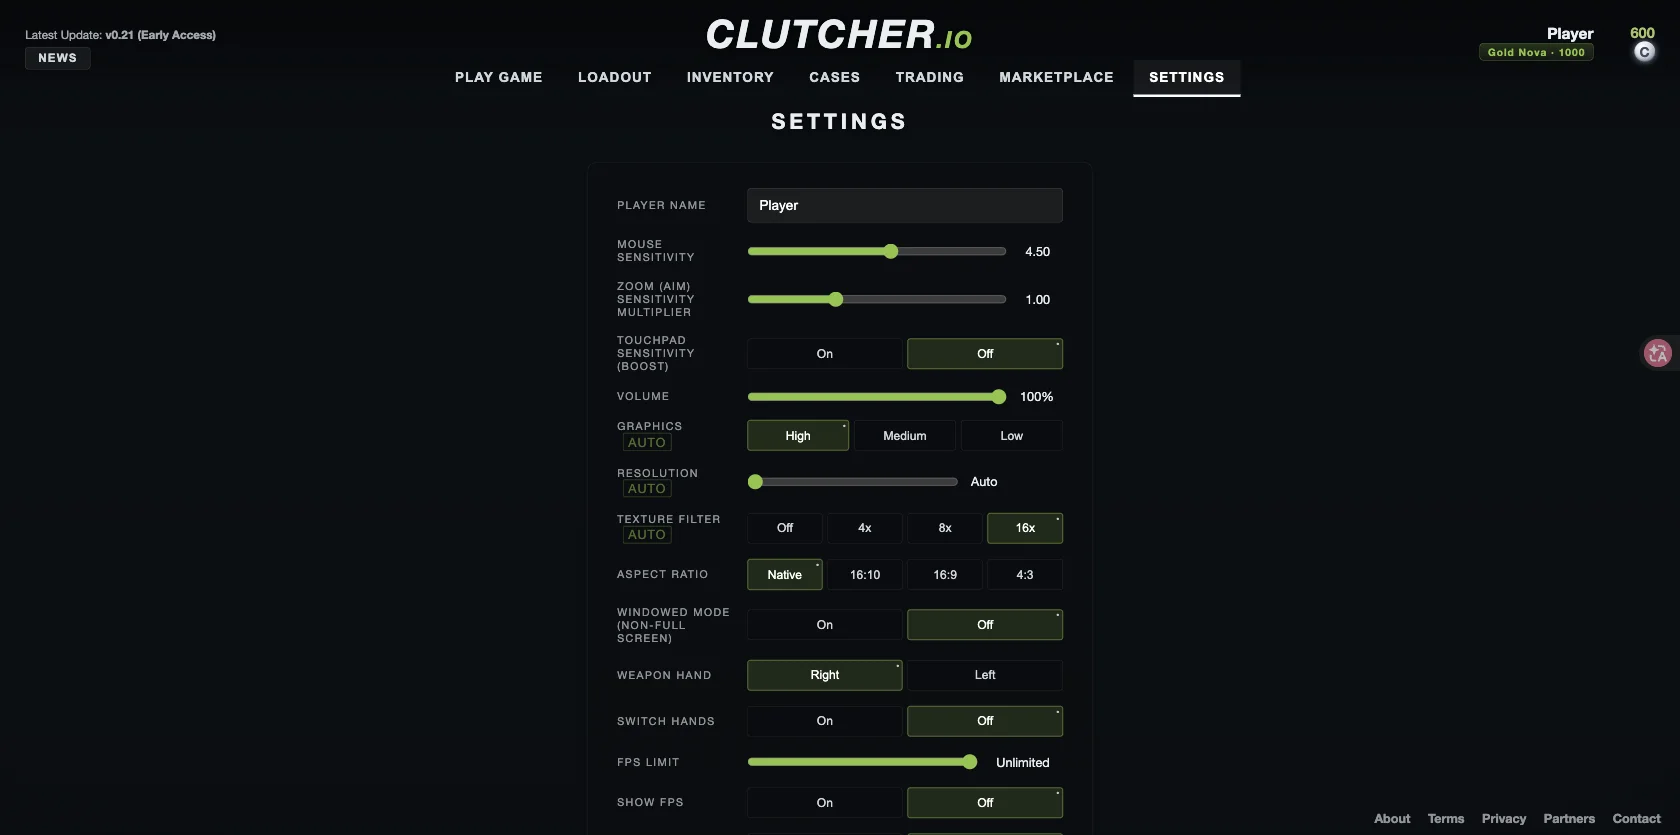
Open Settings and locate Crosshair. The v0.21 news panel lists crosshair settings among its changes, and the checked client exposes a full set of controls. There is no single verified best configuration: the aim is a point you can see clearly without covering the target.
Begin with the style choice. The menu offers Default (Dynamic) and Static. Compare them while standing, moving and firing, then choose the behavior you can read most consistently. Crosshair Follows Shots is a separate toggle, so inspect it when deciding how much movement you want from the display.
Adjust shape before color
Length, thickness and gap determine how much space the crosshair occupies. Center Dot adds a dot, Outline and Outline Thickness affect the border, and T Style changes its shape. Make small changes in a controlled scene rather than moving every slider together.
Our suggested order is style, size and gap, then outline and color. Check both a nearby surface and a distant target area. A crosshair that looks attractive against one menu background may be difficult to read against the actual map.
| Control group | Verified options |
|---|---|
| Style and motion | Default (Dynamic), Static, Follows Shots |
| Shape | Center Dot, Length, Thickness, Gap, T Style |
| Visibility | Outline, Outline Thickness, Color, Opacity |
| Feedback | Hitmarkers |
| Snipers | Hide Crosshair for Snipers, Sniper Width |
Compare visibility on both maps
The listed colors include Red, Green, Yellow, Blue, Cyan and Custom. Choose one you can distinguish from the surfaces you encounter, then check it on Oasis and Dune. Keep opacity high enough for your own display and lighting conditions; this is a visibility judgment, not an accuracy bonus.
The observed session showed length 6, thickness 2, gap 3, outline thickness 1 and opacity 255. These values document that session. They are not a professional preset, a tested optimum or a promise of better aim.
Finish with feedback and sniper behavior
Hitmarkers and sniper-specific visibility are separate from basic crosshair shape. Test those options with the weapon behavior you actually use. If you lose track of your changes, the Crosshair section has its own Reset to Defaults control.
Keep your mouse sensitivity steady while comparing crosshairs. Otherwise it is easy to credit a visual change for a difference caused by input settings. Once you have a readable configuration, spend a few rounds using it before changing it again.
Sources & verification
Checked on . The game is in early access; menu labels and availability can change.